 |
| In all it’s glory! |
I think you’ll be pleased to hear the following snippets of good news.
1. I have been brave.
2. I have pushed myself way out of my comfort zone.
3. I survived! … and…
4. I’d do it all again!
My first attempt at a two-tiered, fondant covered cake has been a huge success! With the help of Lorraine Pascale’s recipe for red velvet cake and some good forum friends willing to help me step-by-step, it has definitely been challenging. Stressful even. But ultimately worth it.
just seeing the look on my daughter’s face has made it worthwhile.
Let’s start at the beginning…
Miss decided on a ‘hot pink’ and black cake. I think we achieved the requisite level of ‘hotness’ as it were.
I used Wilton’s ‘rose’ gel paste food colour, which I think has helped turn the ready-made (Tesco) fondant a beautiful colour.
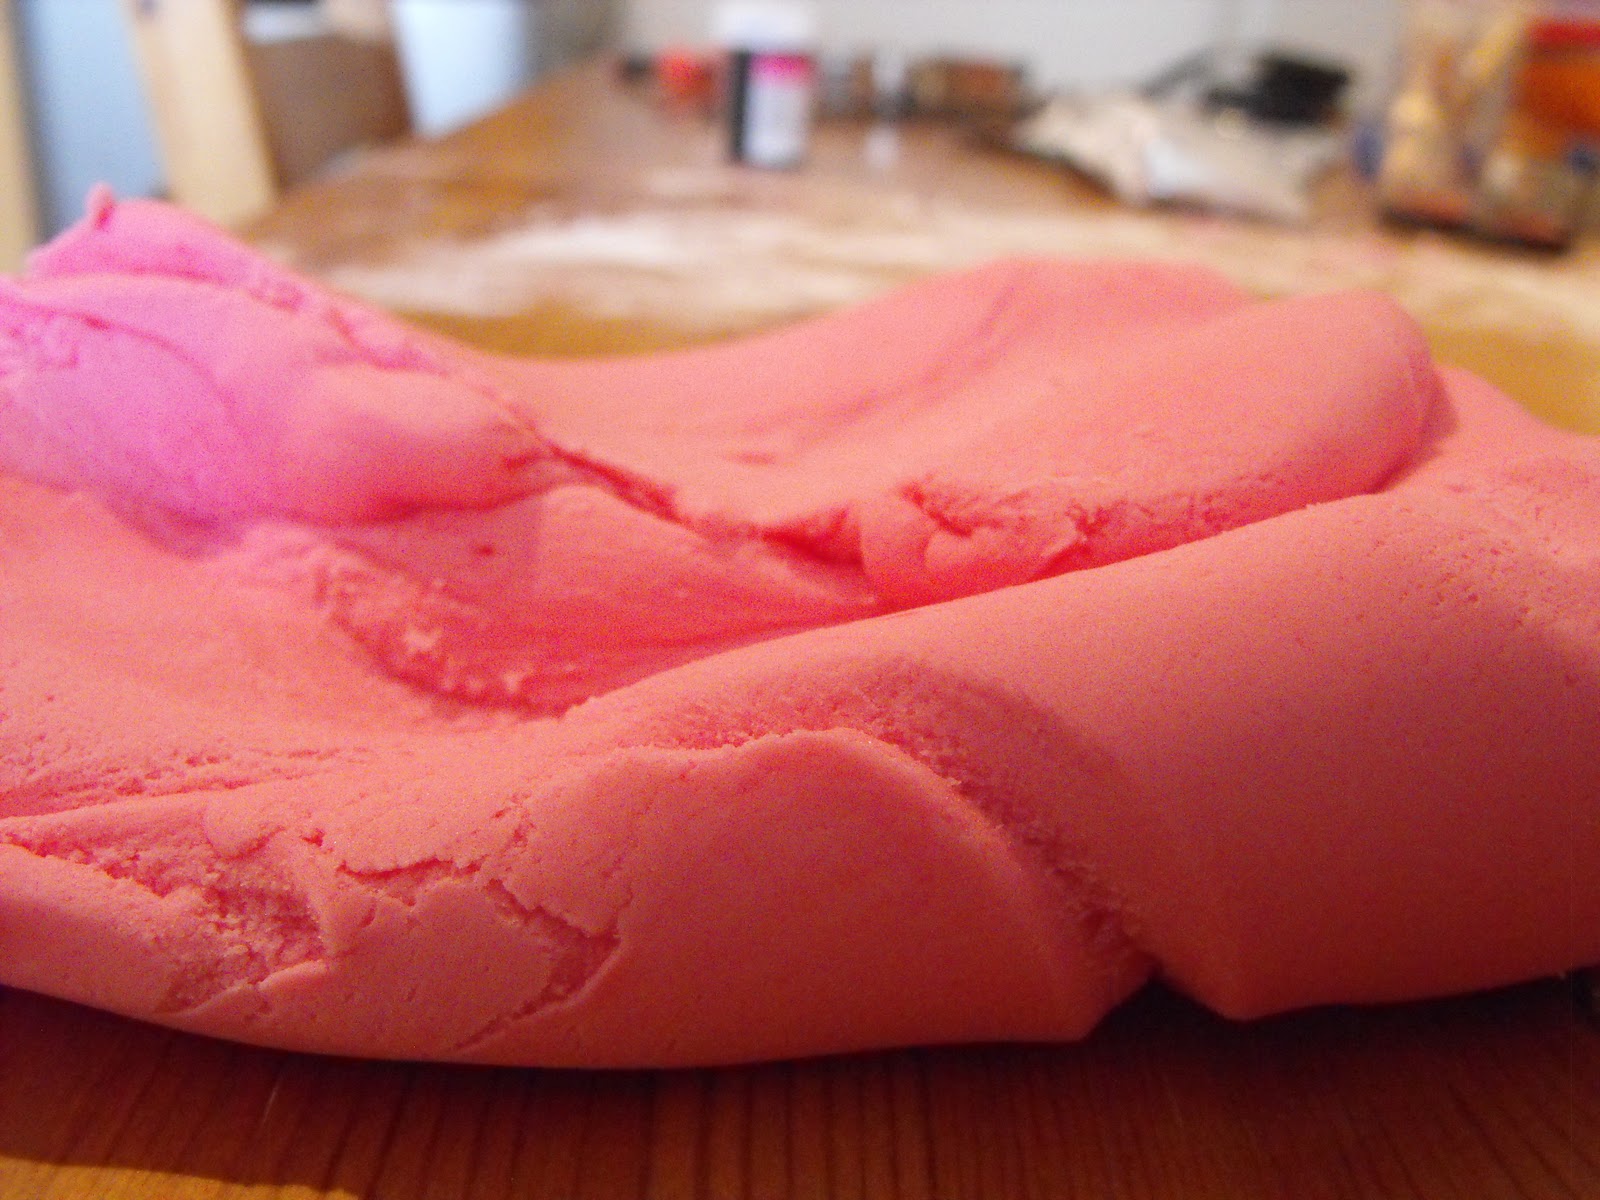 |
| Hot pink fondant |
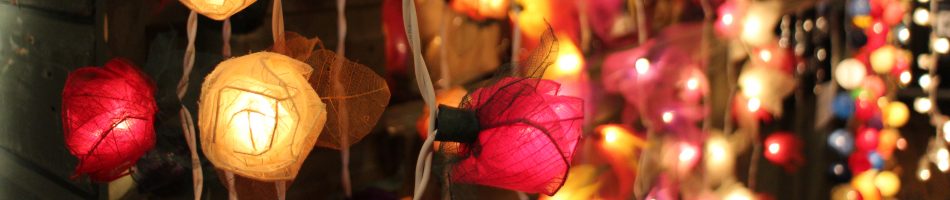
I used small cutters and black florists wire for the cake toppers:
 |
| Cake toppers |
..and twirled the wire round one of the dowelling rods used to support the top tier, to get the required curliness.
 |
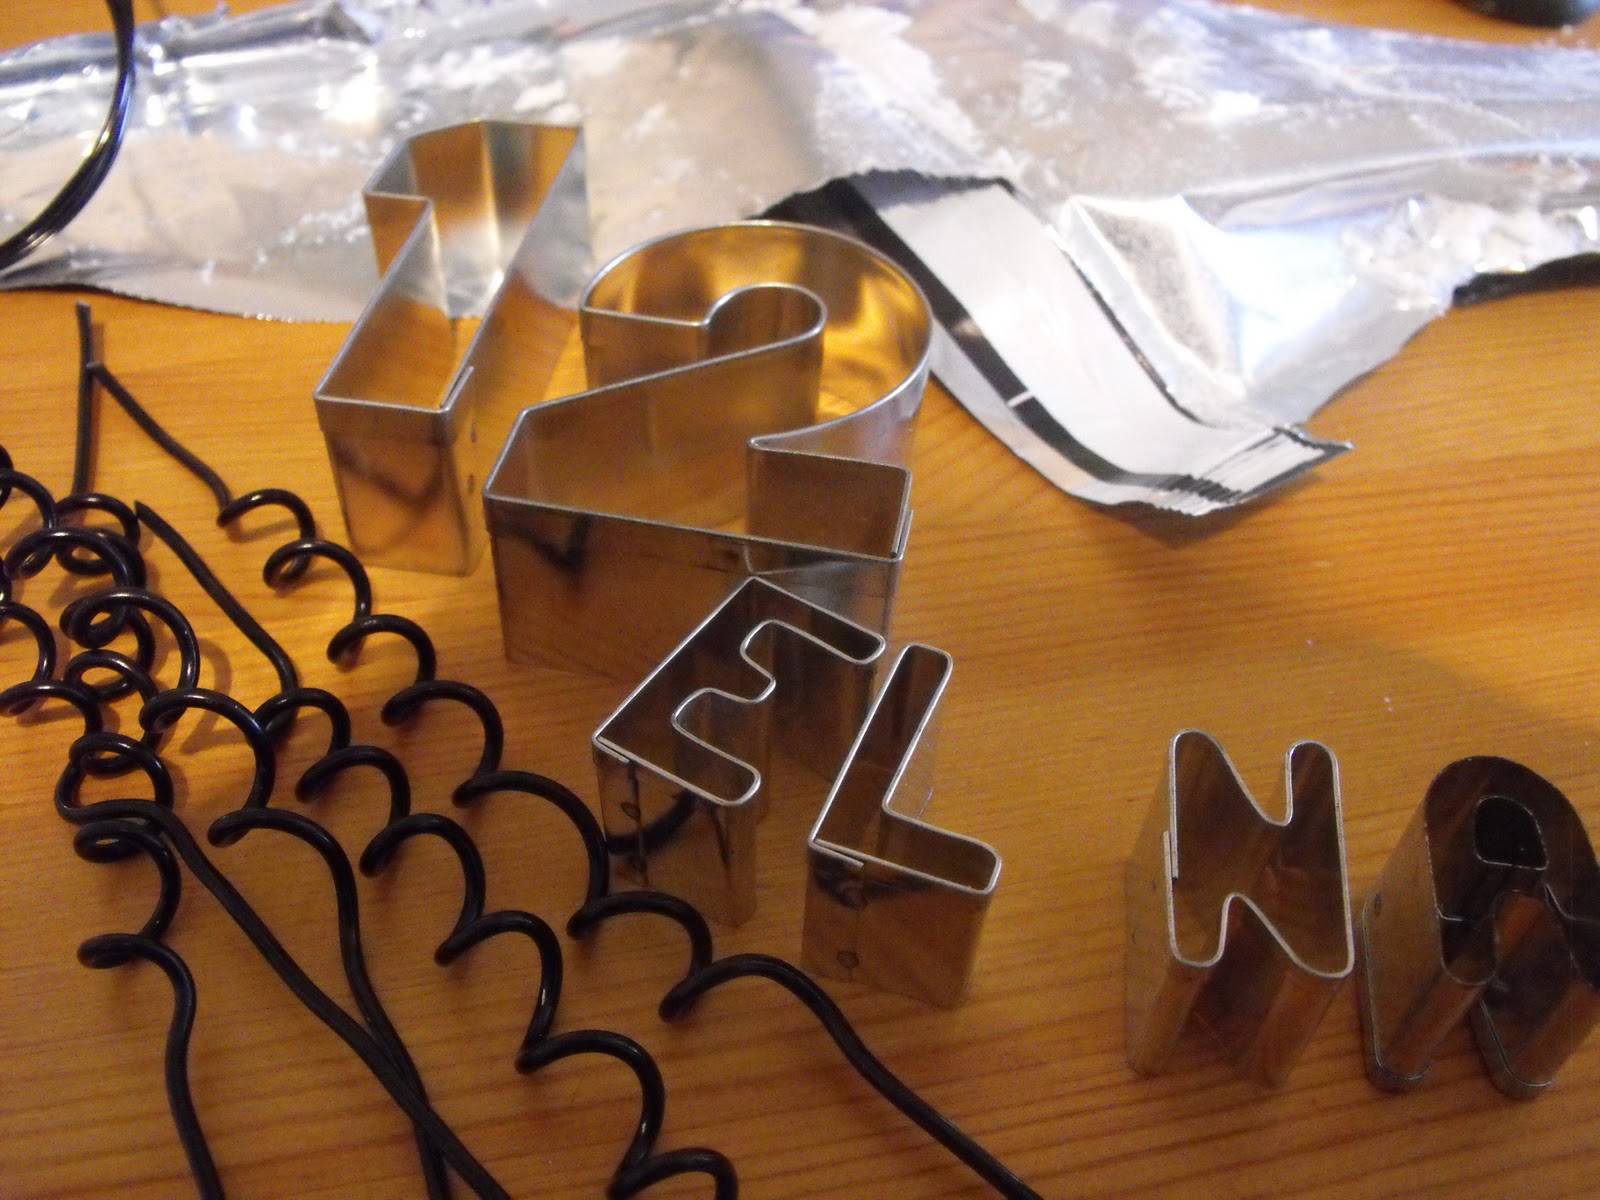
| No. 12. |
I won’t use the small letter cutters again, they were fiddly and didn’t give me a very professional look, they looked amateurish I think. And the fondant got stuck many times and wouldn’t come out – so much so that I had to make the ‘A’ by hand. If any cake decorators have any ideas for another way of forming letters/names, please, please share them with me!
And if you have any ideas for making the cake topping numbers stand up on the cake, without using the same florist’s wire, please also share that jewel of information with me- one of the wires wouldn’t stay in and I almost stuck it straight through the number 2! By this time I was in the throes of stress, my speaking voice had risen by quite a few octaves AND decibels!
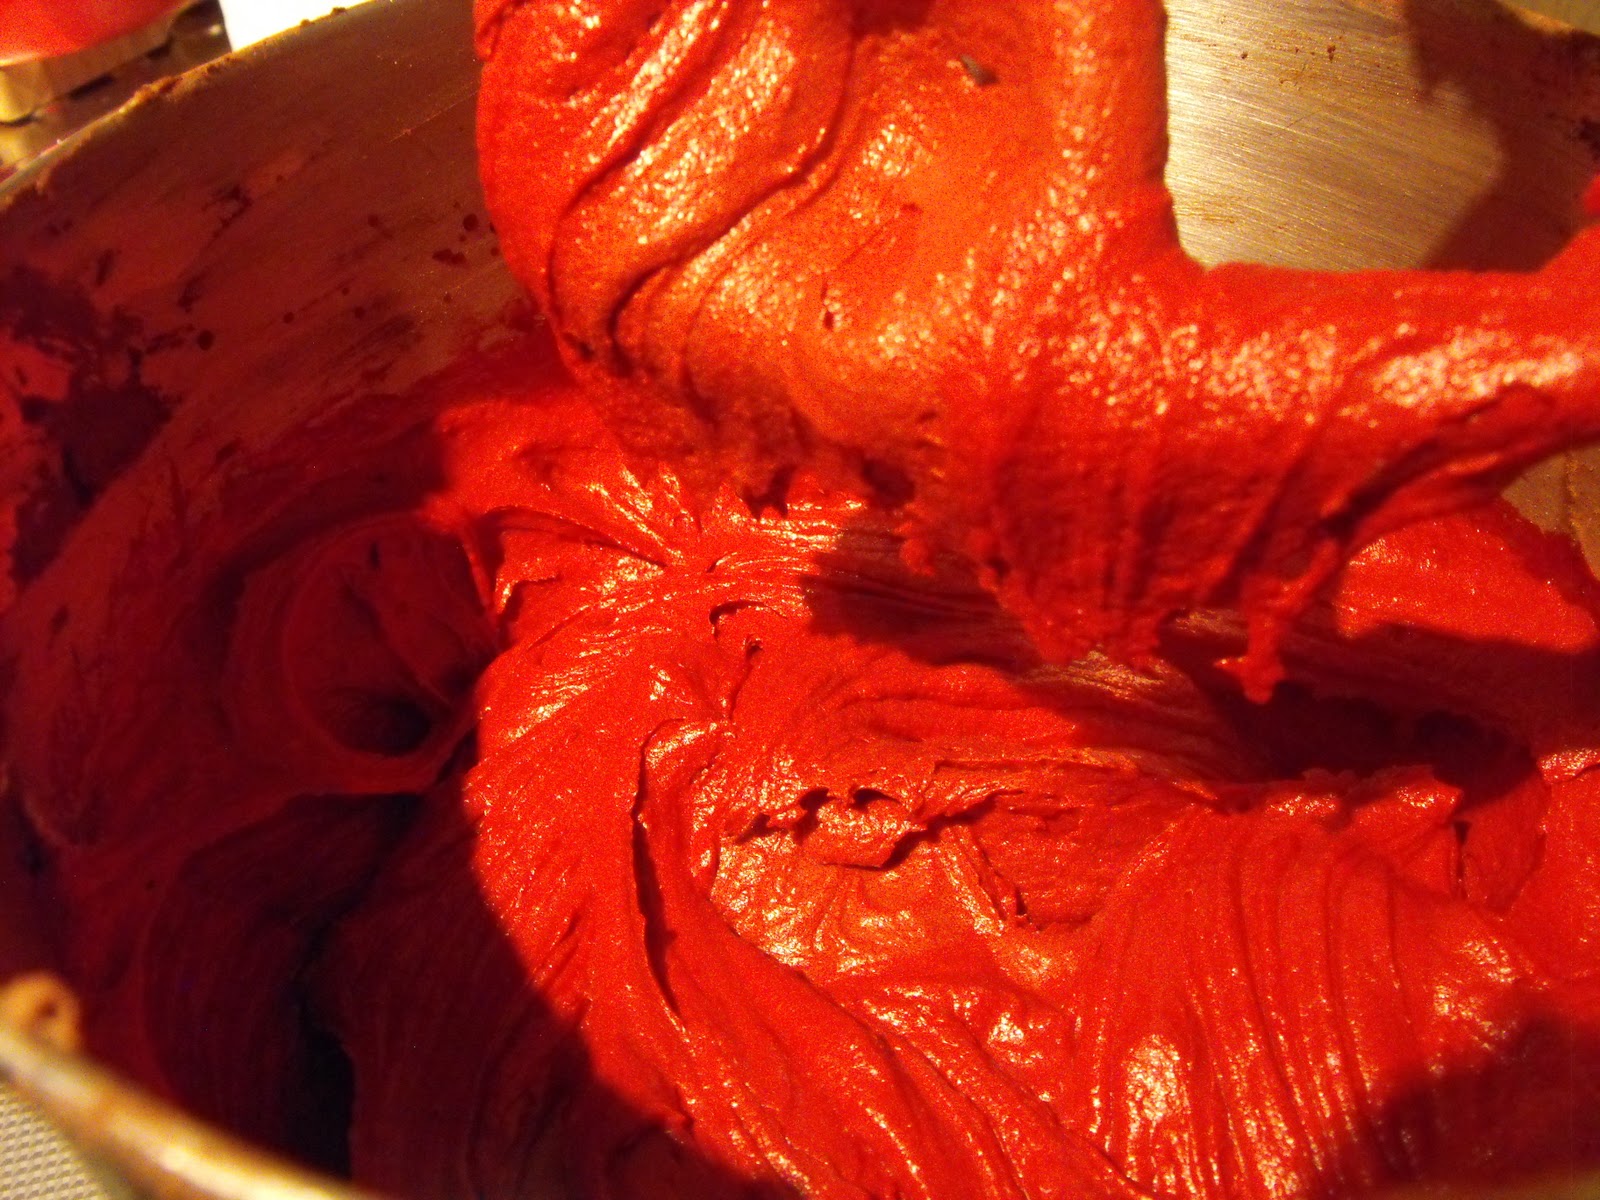 |
| Stunning red-as-red-can-be cake batter |
In the midst of all this my husband came into the kitchen and told me to calm down. Cake making was not meant to be this stressful he said.
I ended up apologising to my daughter, and she to me….
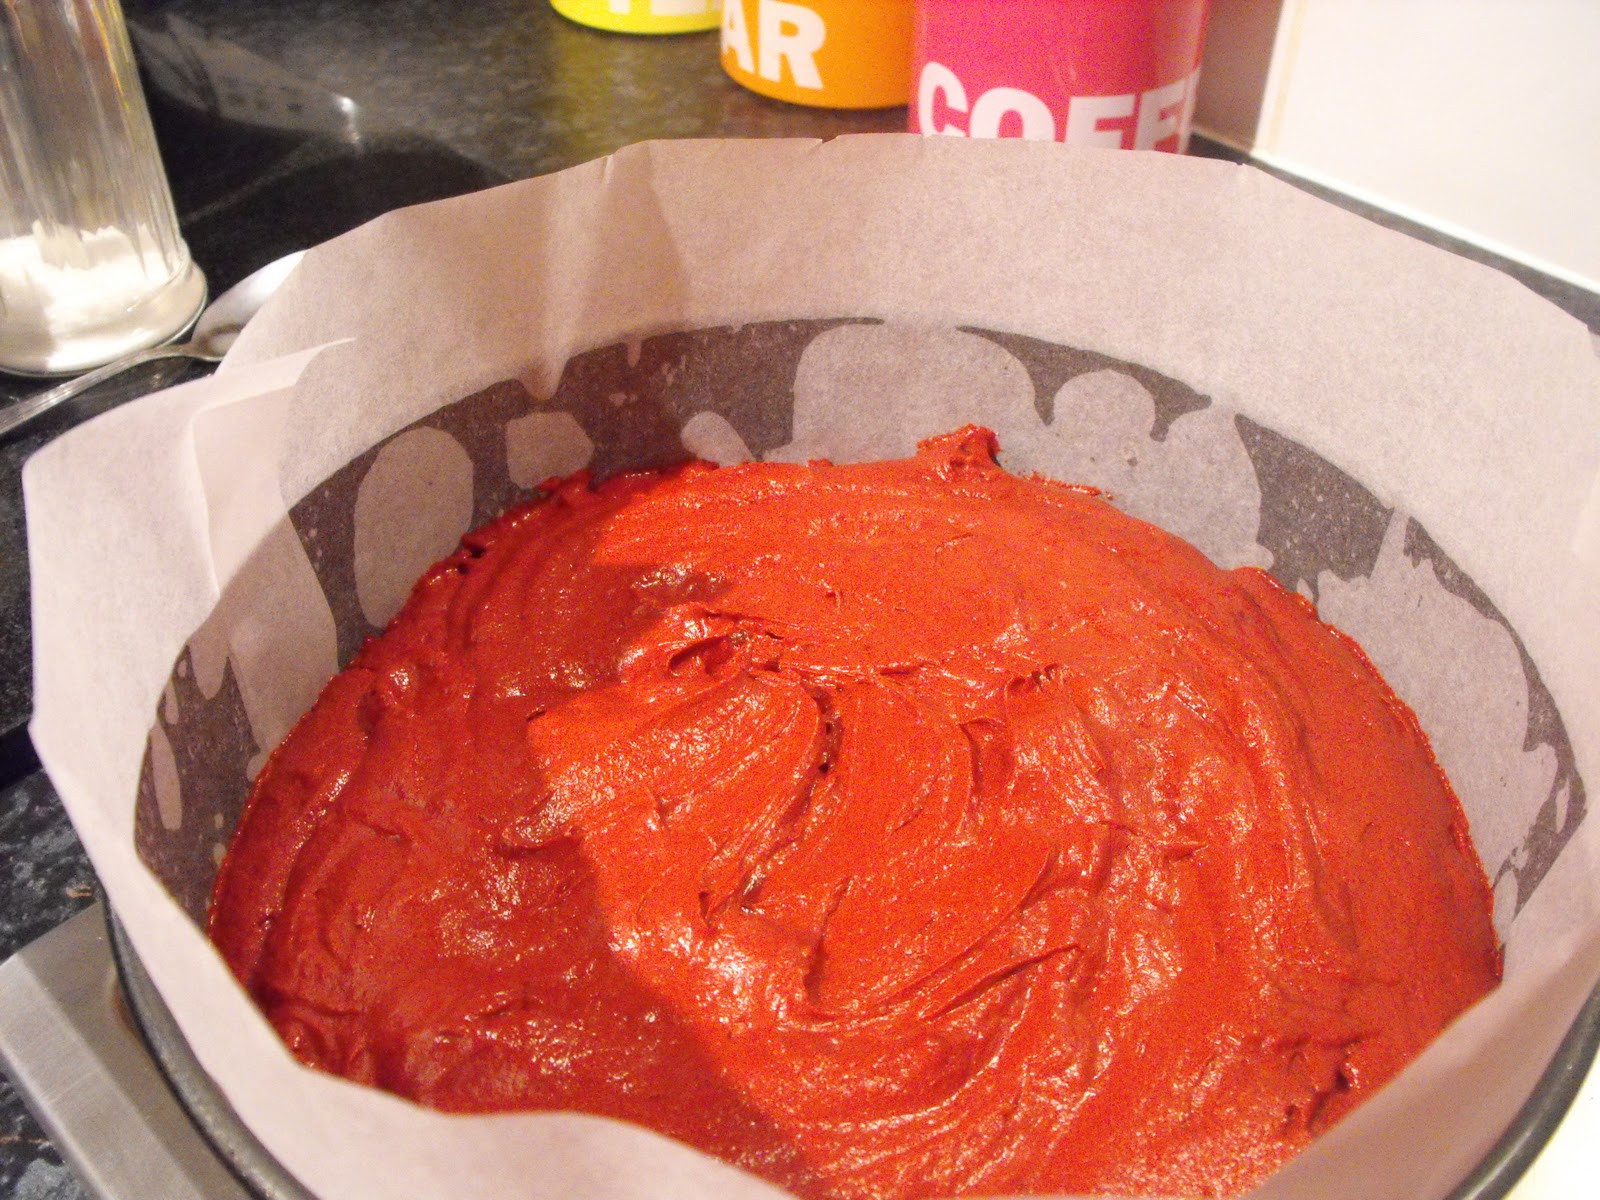 |
| In the lined and waiting cake tin. |
 |
| A more dignified hue. |
The cake was easy to make and it was weirdly satisfying adding a whole bottle of red (Not ‘natural’ red, says Lorraine!) liquid food colouring to it!
Both cakes (9″ and 6″) were split in half before being filled with cream cheese buttercream. I also used the same buttercream to cover the cakes.
 |
| Covering cake with buttercream |
After the buttercream had set to the touch, I started worrying that I’d let it dry too much and that the fondant wouldn’t stick to the cake – so I heated up some apricot jam in the microwave until it had become liquid and used a silicone brush to paint a thin layer on the cakes, so that the fondant would have something to stick to.
I used wooden dowelling in the bottom tier to carry the weight of the top tier, each piece was cut to the same height as the cake and placed in a square formation which would be hidden under the top layer and used a pretty pink ribbon to hide the ‘join’ when I sat it on top.
we cut out pink and black hearts of fondant to decorate the cake along with the toppers.
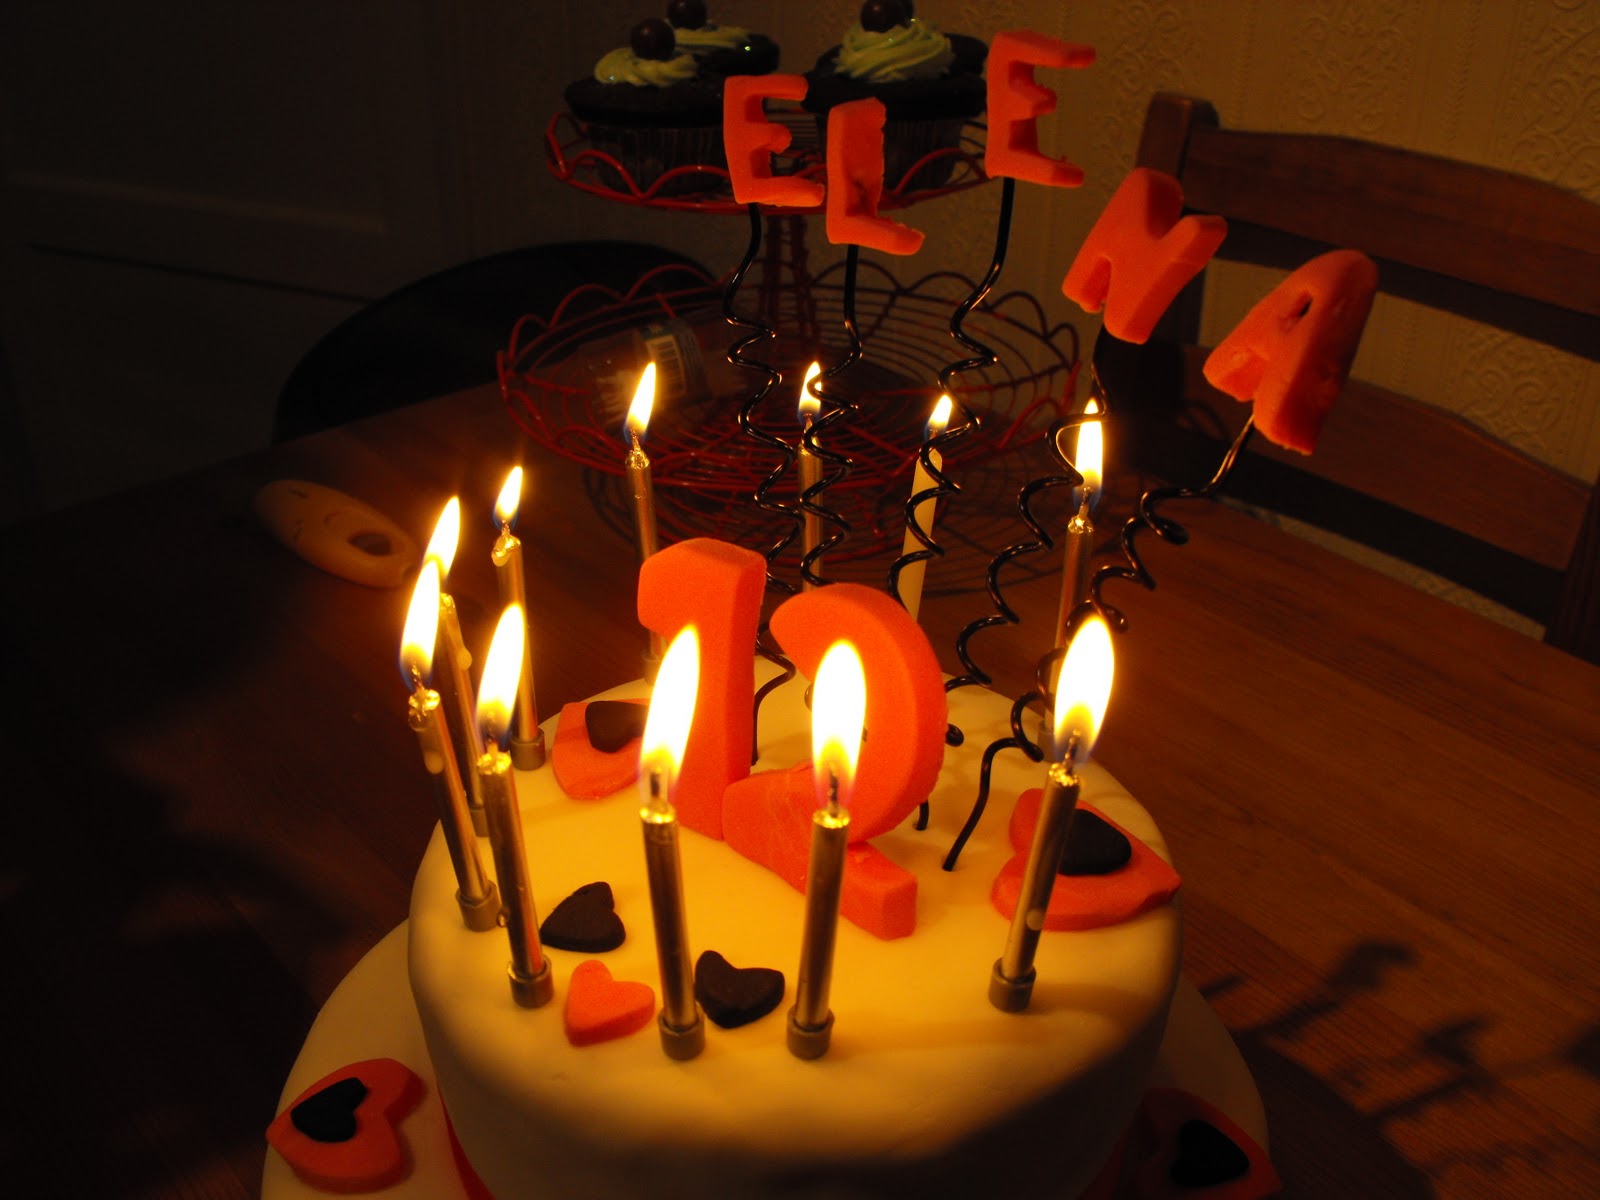
Here’s the finished cake:
 |
| All done! |
And here’s the inside of it:
 |
| Red velvet yumminess |
It was moist, tender and delicious.
Definitely a hit!
Thanks to EmmCee, Vicky, Sal and Mrs. KT for all the online help,
Also to Minnie for suggesting I watch Lorraine’s baking programme for ideas and help on making a two-tiered cake.


Happy Birthday to Elena! The cake turned out absolutely gorgeous.Mariax
LikeLike
stunning
LikeLike
You have inspired me to give this a try myself. Great job. Plan B
LikeLike
It's fabulous Anna. Well done. I can't believe you haven't done this before. It looks soooooo professional x
LikeLike
Wow! That looks amazing! I still don't get the dowelling bit (I assume they go through the cake underneath?) but hey, it looks wonderful! Happy Birthday Elena! It's birthday week here too- cakes for school and home! Might have to convince one of the kids they need a fondant cake!
LikeLike
Thankyou everyone, it was definitely a labour of love!Fi I will edit the post to make the dowelling step clearer, thanks.
LikeLike
Anna i just stumbled across your blog again, i still love it, that cake is fabulous!Erica x
LikeLike
Anna i just stumbled across your blog again, and I still love it.That cake is fabulous! xerica x
LikeLike
Oh Anna, it's fabulous, really well done you! 🙂 🙂
LikeLike
Erica, it's lovely to 'see' you again! :-))KJ, thankyou! And everyone for your comments. I really appreciate it. They're what keep us bloggers going I think you'll agree!
LikeLike
Anna, it's beautiful! LOL
LikeLike
Well done Anna that cake is GAWJUS.Sandyxx
LikeLike
Wow, Anna, it's so lovely. You've done a great job.x
LikeLike
Happy birthday to Elena! I can't believe she's turned 12 already!Congratulations on the cake, Anna! It's gorgeous and you can be proud of your achievement.
LikeLike
Anna, I have only just come across your blog. The cake turned out magnificent, you have done a great job. Oh and it looks delicious too.Hope Elena had a fabulous birthday.Katena x
LikeLike
Thankyou everyone!Elena had a lovely day and I hope the cake added to her happiness!
LikeLike
hi Anna, I have just been reading about the amazing two tier cake you made. I have seen the three tier version on Baking Made Easy. I'm just wondering how many your two tier version served? The three tier version is apparently for 100, but seems too small for that many? Or is it just quite rich (and therefore small serves only required.I want to make a cake for 55 people.Thanks for your help!!
LikeLike
Hello,it was a long time ago now, but as far as I remember we only used the top layer on the day for about 10 of us. The bottom layer, I'm sure, would have served about 15-20. I think only a tiny piece each is needed when there are a lot of people. Hope this helps.
LikeLike